Note: You must have an account to access the Routes feature in the app. Learn how to set up an account.
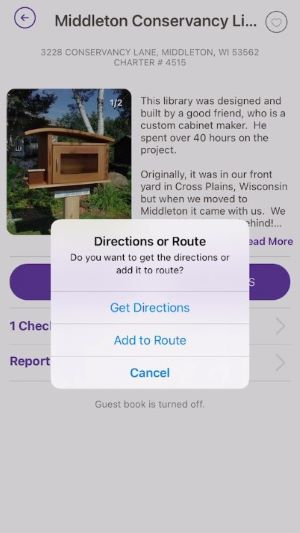
To create a route, view the first Little Free Library you want to visit on the map. Tap on the library’s pin on the map. Then tap the i icon to view more information. You are now viewing the Library Detail Screen. Click the Directions button. A pop-up will appear asking you if you want to get directions to this library or add it to a route. Click Add To Route. You will get a success message that says “Library Successfully Added to Route.”

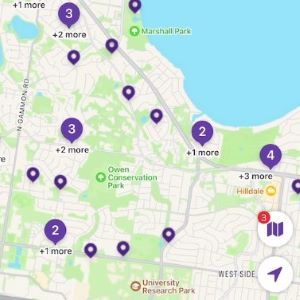
Click the back arrow in the upper-left of your screen to view the map once more. You will now see a trifold map icon on the right side of the map representing your route with a number to show you how many libraries are currently in your route.

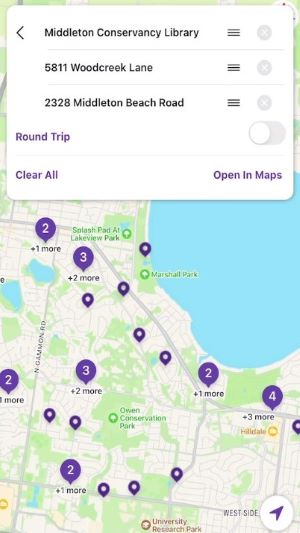
You may add a maximum of 10 Little Free Library locations to your route. You may only create and maintain one route at a time. You can drag and drop the libraries on your route list to rearrange the order. Toggle on Round Trip if you want the route to start and end at the same Little Free Library location.

When you are ready to view the complete route, tap Open In Maps. Your phone’s default map application will open with the route automatically created.
