
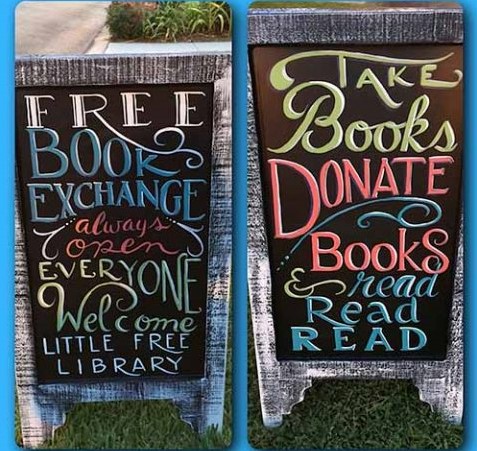
A well-placed sign can do wonders if you’re trying to get more people to notice your Little Free Library book exchange.
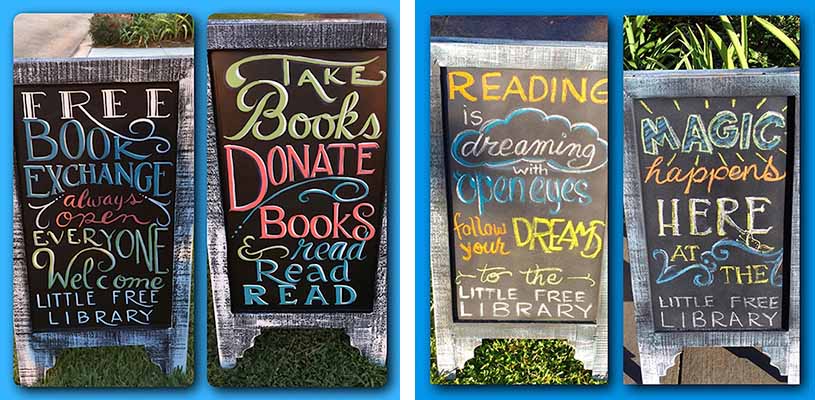
Library steward and artist Julie Bush has made more than a few beautiful, eye-catching “sandwich” signs to promote Little Libraries in her town of Lafayette, Louisiana. We’re sharing her photos and process so that you can create one, too!
Decide if your sign needs to be waterproof
If you want your sign to be waterproof, then you will need to paint your message on with an outdoor-grade paint.
If you would rather have a sign where you can constantly write on new messages, but that is not waterproof, then you will want to use sidewalk chalk or bistro chalkboard markers.
Go to your local craft supply store
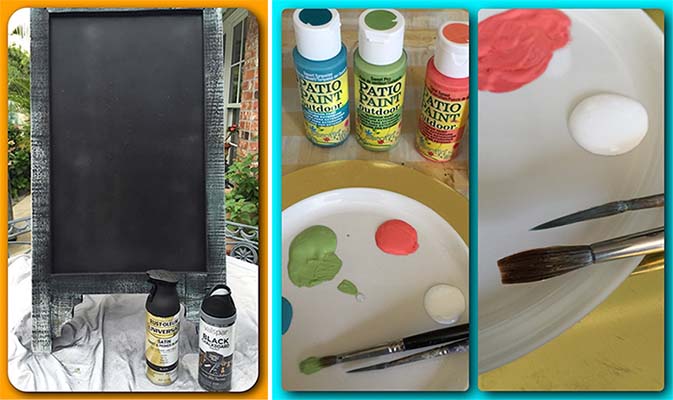
Julie purchased each of her “sandwich” signs at her local Hobby Lobby for about $35. Here is what you will want to purchase:
Non-waterproof sign
- Chalkboard sandwich sign
- Sidewalk chalk or bistro chalkboard markers (get the large or jumbo size)
- Ruler or T-square (optional)
Waterproof sign
- Chalkboard sandwich sign
- Silicone caulk
- Black satin finish paint/primer, such as Rustoleum Black Satin Universal Spray Paint
- Outdoor-grade craft paint (make sure it says exterior or outdoor on the label) OR exterior house paint that you’ve thinned with water
- Paint brushes (one wide brush with a blunt tip, and one thinner brush with a pointed tip)
- Ruler or T-square (optional)
How to make the non-waterproof sign
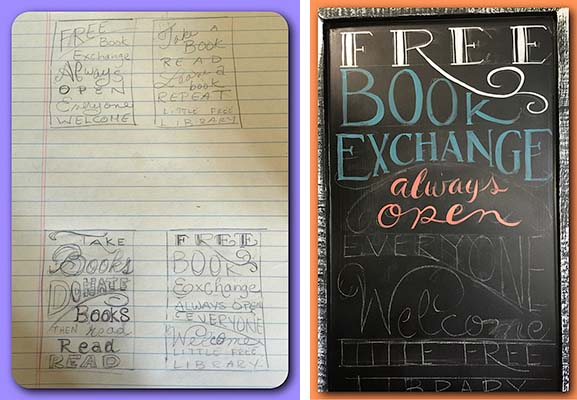
This sign is super quick and fun to make! Start with some scratch paper and a pencil and sketch out some different designs. Experiment with different font styles and look at examples from magazines or scrapbooks.
As you plan your design, Julie recommends that you fill up the entire sign with text, keeping about 1/2″ of space between the lines. Don’t bother with side margins, either; fill up the whole sign.
Now, head out to the driveway with your sketch, chalkboard sign, chalk/bistro markers, and ruler. Use your ruler or T-square to lightly draw horizontal lines in chalk, dividing the different sections of your sign. The lines will help keep your letters straight, too.
It’s time to start drawing! Fill in your outlined sections with your chalk or bistro markers, and you can always erase any errors and try again if you don’t get it right the first time. Just remember to bring your sign indoors if it’s going to rain or snow.
How to make the waterproof sign
This takes a little more time and effort, but in the end you will be rewarded with a long-lasting, waterproof sign!
Start by caulking around the edges of the board and and sealing any joints with silicone caulk, too. You don’t want to miss any cracks or edges where water could seep in beneath the frame.
Spray paint the sign with a black primer, using light coats to prevent the paint from running. Follow up with a coat of spray paint in a black satin finish. You can combine these steps by using an all-in-one paint and primer like Rustoleum Black Satin Universal Spray Paint.
Julie chose to dry brush the frame of the sign with white paint for a distressed look. This part is up to you, but you will want to be sure that the feet of your sandwich sign, which will likely be sitting on wet ground at some point, are coated with outdoor-grade paint. This protects the wood from warping when moisture seeps in.
Grab a pencil and paper and sketch out your design. It helps to have a clear idea of what your sign will look like before you start painting!
As with the non-waterproof sign, Julie recommends that you fill up the entire sign with text, keeping about 1/2″ of space between the lines. Don’t bother with side margins, either; fill up the whole sign.
Use a ruler or T-square to sketch horizontal lines in chalk; these are your guidelines to help you visualize the different sections of your sign, and to help you keep your letters straight. You’ll erase these lines after you’ve finished painting on your letters.
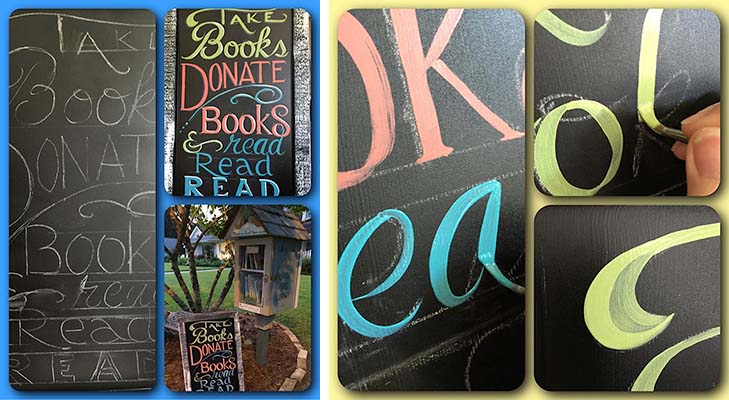
Still using chalk, sketch in the letters and design of your entire sign. This is your test round! You can erase any lettering that you don’t like and try again, and keep perfecting it until you love the layout.
Now grab your paint brushes and get to painting! Follow the chalked-in lettering guidelines you’ve made for yourself.
The thicker brush is better for large, bold lettering, and the thinner brush is better for intricate designs or smaller letters. It will probably take two or more coats of colored paint on each letter to cover up the black background.
After the paint has dried, lightly wipe off any residual chalk. Now put up your bright, beautiful sandwich sign and watch as it attracts visitors to your Little Free Library!
Don’t have a Library of your own yet? Learn how to start a Little Free Library.
Interested in more craft ideas and tips for stewards? Check out our For Stewards blog posts and sign up for our weekly e-newsletter.