
You might not suspect it, but your book-sharing box probably gets late-night visitors. It’s more common than you think! But keeping your Little Free Library lit up for those night-owl browsers can be a challenge.
Solar lights to the rescue! Adding a solar light is a long-term, eco-friendly lighting solution, and it’s exactly what stewards Kim and Bill Anderson did with their Little Free Library #34801 in Waterloo, Ontario. They put together some quick instructions to show exactly how they did it. Now you can learn how to add solar lights to your book-sharing box, too!
Start by purchasing a solar light, available at most hardware or home improvement stores.
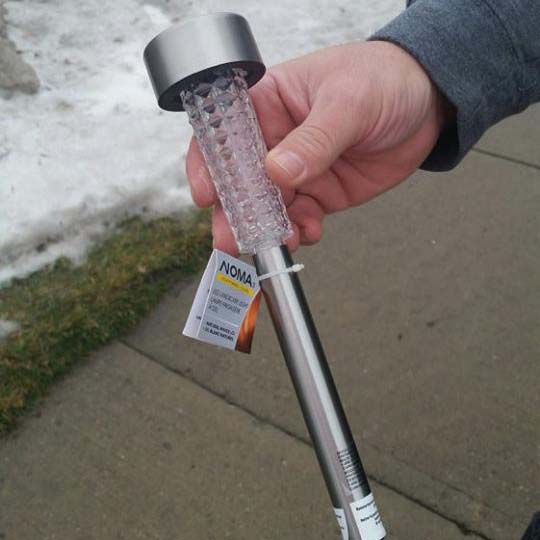
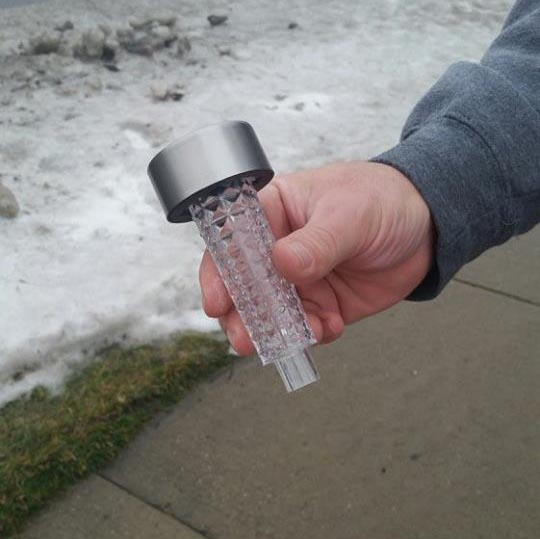
Remove the post beneath the light, which you may be able to just pull off.
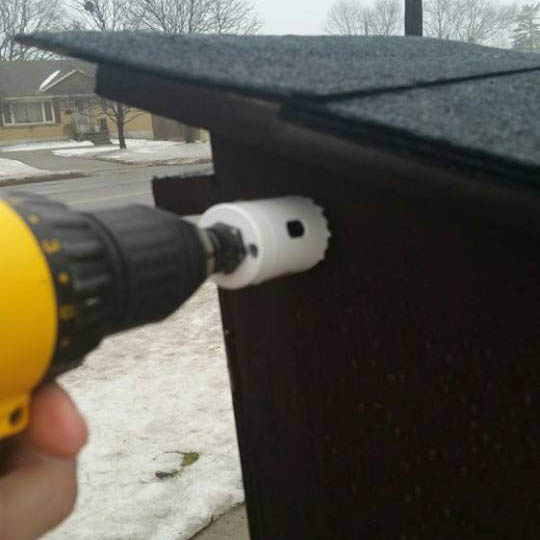
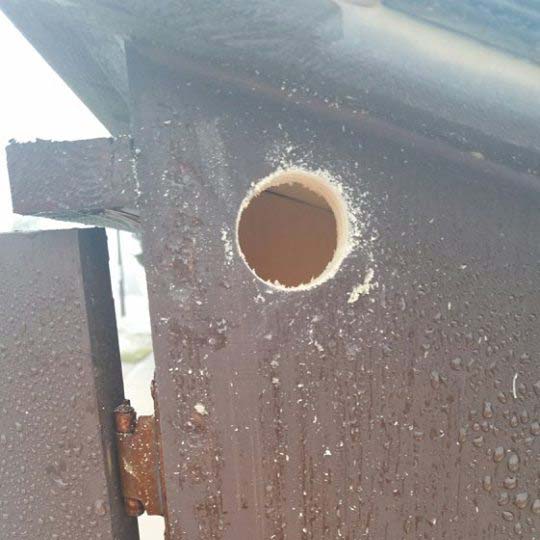
Using a hole saw, or a drill fitted with a spade bit, cut a circular hole on the side of your Library that matches the size of your solar light. You want the solar light to slide in and fit snugly in the hole. Kim and Bill recommend drilling the hole close to the roof of your Library and near the front, to allow space for the solar light inside.
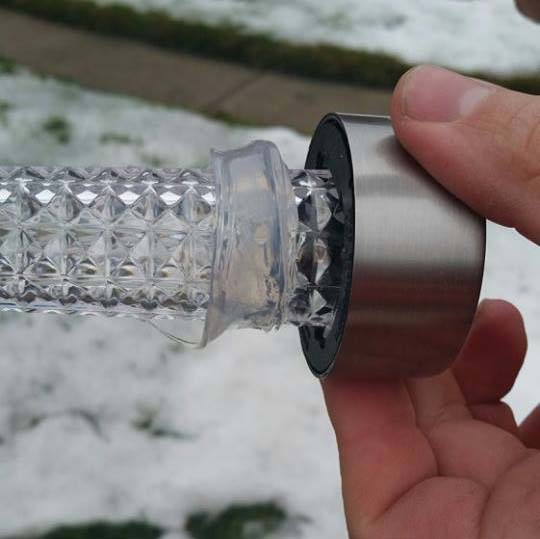
Add a ring of silicone glue to the solar light tube and insert the solar light into the hole, so that the light is glued in place. Make sure that the battery-end of the light is sticking out of the Library, so that you an swap out the battery if it fails.
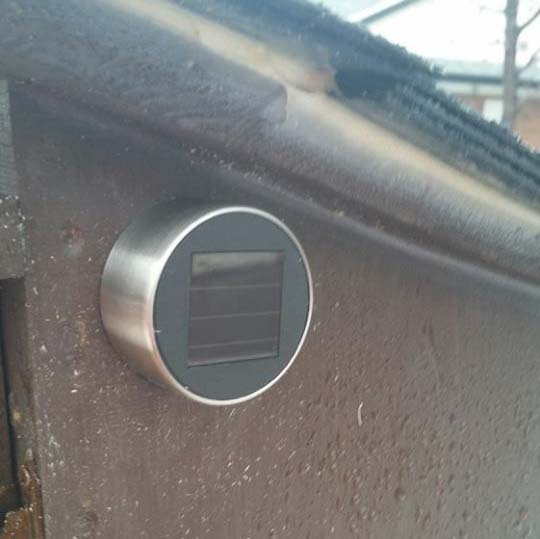
This is what the solar light will look like from the outside, once you’re all done.
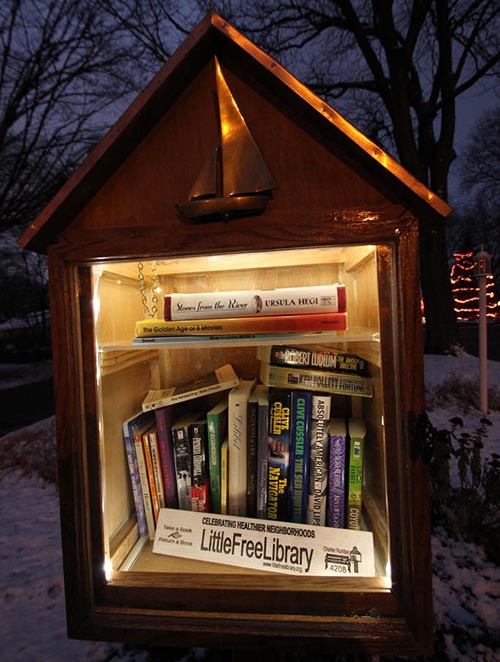
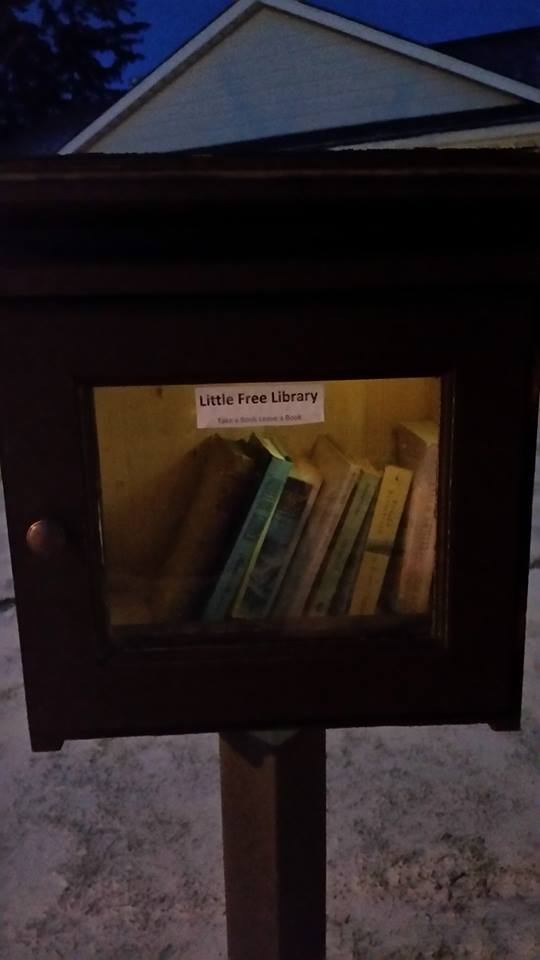
Your Library will now light up at night, thanks to your handy solar light!
These instructions were originally posted on the Little Libraries KW Facebook page.
For more craft ideas, free downloads, and how-tos, visit the Just for Stewards page. Or, if you’re just getting started, learn how to start a Little Free Library.